
Image Element
Use the image element to upload a single image to a Page. This is useful for adding a photo to a Bio page, a map graphic to your Contact page, a logo to your Clients page, etc.
Note: Images uploaded using the Image Element are NOT resized during the Upload process. To ensure the fastest possible loading times for your images on Pages, resize them to an appropriate size before uploading them to a Page. A good rule of thumb is to upload an image at about 2x the size you intend for it to be displayed. This will provide adequate quality to allow for scaling as well as better image quality on high-resolution displays (ie Retina quality displays).
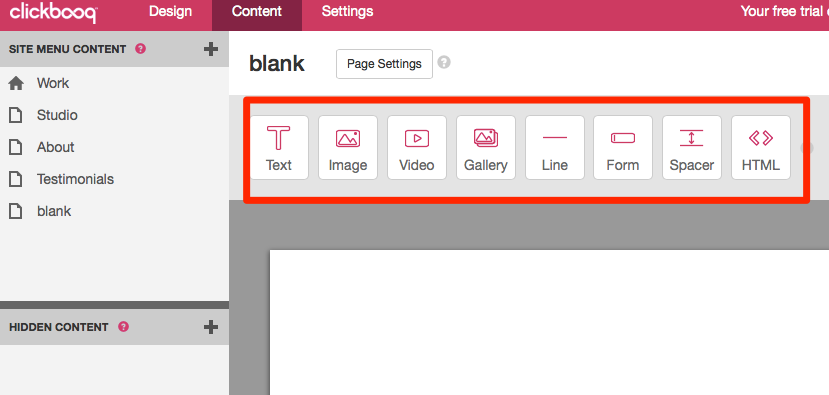
Using the Image Element:
• Click the image icon and drag and drop it to where you want your image to appear.
• Click the Plus (“+”) button and then click the Upload a New Image button. When the System file browser appears, locate the file you wish to use and select it.
• Once the image has successfully been uploaded, it will appear in the preview window.
• Adjust the size of your image by dragging the grey horizontal bar at the bottom of the image. You cannot expand an image larger than the original size.
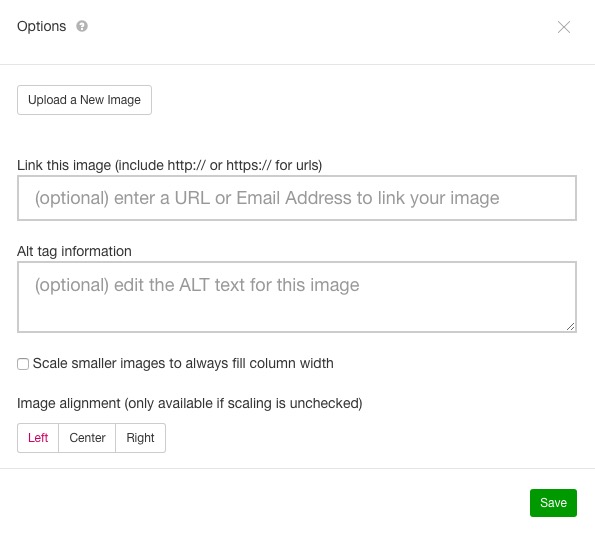
• Click the Gear icon in the top right corner of the image to access Image Options:
- You can replace the image by uploading a new image
- Link your image to another website or an email address
- Add or Edit the Alt tag (i.e. caption) information for the image
- Scale the image to always fill the column width
- Set the image's alignment within the column.
• Image size is constrained by column width. The image will display at 100% or if it is wider than the column, it will be scaled down to fit width-wise.
• To delete an image, click the “X” in the top right corner of the image.
• Note: Images uploaded to a Page are NOT saved to your All Images folder.
Comments
0 comments
Article is closed for comments.